
📹 How to Install CCTV Camera at Home? A Complete Step-by-Step Guide
Home security has become more important than ever. Installing a CCTV camera at home is one of the best ways to protect your family, property, and valuables. Modern CCTV systems are affordable, easy to use, and offer advanced features like remote monitoring and motion detection.
If you’re planning to install CCTV cameras at home, this step-by-step guide will help you do it correctly.
🏠 Why Install CCTV Cameras at Home?
A home CCTV system offers multiple benefits:
- Prevents theft and burglary
- Monitors visitors and deliveries
- Keeps an eye on children and elderly family members
- Provides recorded evidence if needed
- Allows remote viewing from your smartphone
Visible cameras also act as a strong deterrent to intruders.
🛠 Step 1: Plan Your Camera Placement
Before installation, identify the key areas that need monitoring.
Recommended Locations:
- Main entrance and back door
- Driveway and garage
- Front yard or backyard
- Living room or common areas
- Staircases and hallways
Avoid installing cameras in private areas such as bathrooms or bedrooms to maintain privacy.
Proper planning helps reduce blind spots and ensures full coverage.
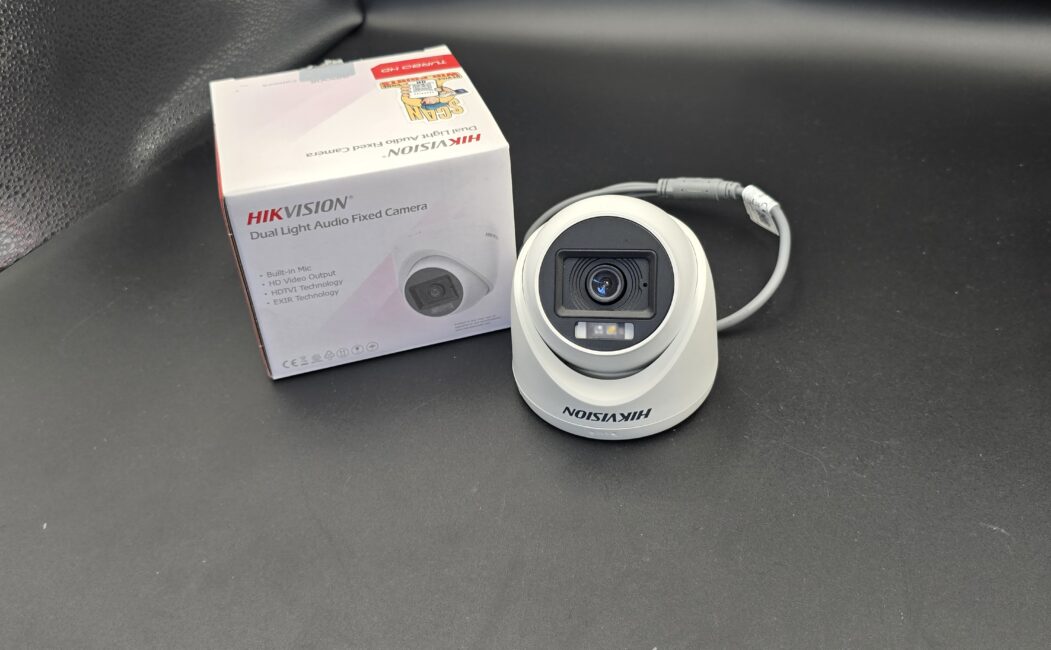
📦 Step 2: Choose the Right Type of CCTV Camera
There are different types of CCTV cameras available for home use:
Dome Cameras – Best for indoor use
Bullet Cameras – Ideal for outdoor areas
Wireless Cameras – Easy to install and flexible
Wired Cameras – More stable connection
Night Vision Cameras – Clear footage in low light
IP Cameras – Advanced features with remote access
Choose cameras based on your home size, lighting conditions, and security needs.
🔧 Step 3: Gather Installation Tools and Equipment
You will need:
- CCTV cameras
- DVR/NVR system
- Hard drive (for recording)
- Power adapters
- Coaxial or Ethernet cables (for wired systems)
- Drill machine and screws
- Monitor or TV
- Internet connection (for remote viewing)
Make sure all components are compatible before starting.
📍 Step 4: Install and Mount the Cameras
- Mount cameras at a height of 8–10 feet to prevent tampering.
- Tilt them slightly downward for better viewing angles.
- Use weatherproof cameras for outdoor areas.
- Avoid direct sunlight or strong glare.
Secure the bracket firmly to the wall or ceiling using screws and a drill machine.
🔌 Step 5: Connect the System
For Wired CCTV Systems:
- Connect cameras to the DVR using cables.
- Attach the DVR to a monitor via HDMI or VGA.
- Connect the power supply.
For Wireless CCTV Systems:
- Plug the camera into a power source.
- Connect it to your Wi-Fi network using the manufacturer’s app.
Keep cables organized and hidden for safety and neatness.
⚙ Step 6: Configure Settings
Once installed:
- Turn on the DVR/NVR.
- Set date and time.
- Configure recording mode (continuous or motion detection).
- Set up remote viewing on your smartphone.
- Create a strong password for security.
Proper configuration ensures smooth operation.
🧪 Step 7: Test the System
Before finalizing:
- Check live footage from all cameras.
- Test night vision mode.
- Walk around to check motion detection alerts.
- Review recorded footage.
Make adjustments if necessary.
💡 Tips for Better Home CCTV Installation
- Use at least 1080p HD cameras for clear images.
- Install proper lighting for better video quality.
- Regularly clean camera lenses.
- Backup important recordings.
- Keep software updated for security patches.
👨🔧 DIY vs Professional Installation
DIY installation works well for small homes and wireless systems. However, if your home is large or requires complex wiring, hiring a professional installer ensures correct placement and reliable setup.
💰 Cost of Installing CCTV at Home
The total cost depends on:
- Number of cameras
- Camera quality and features
- Storage capacity
- Installation complexity
Basic home setups are budget-friendly, while advanced systems may cost more.
✅ Conclusion
Installing CCTV cameras at home is a smart investment in safety and peace of mind. With the right planning, equipment, and setup, you can monitor your property 24/7 and protect what matters most.
Whether you choose a DIY approach or professional installation, a well-installed CCTV system will provide reliable security for years to come.
Leave a Reply