
Home CCTV Camera Setup
Home CCTV Camera Setup: Complete Guide for Safe & Smart Living
Installing a home CCTV camera system is one of the most effective ways to protect your family, property, and valuables. With modern technology, setting up a CCTV system has become easier and more affordable than ever. Whether you want to monitor your entrance, driveway, or indoor areas, a properly installed CCTV system provides 24/7 security and peace of mind.
In this blog, we’ll walk you through everything you need to know about home CCTV camera setup.
Why Install CCTV Cameras at Home?
Home security is a top priority for every homeowner. CCTV cameras offer several benefits:
- 24/7 surveillance
- Crime deterrence
- Remote monitoring via smartphone
- Evidence in case of incidents
- Monitoring deliveries and visitors
- Enhanced safety for children and elderly
Visible cameras alone can discourage potential intruders from targeting your home.
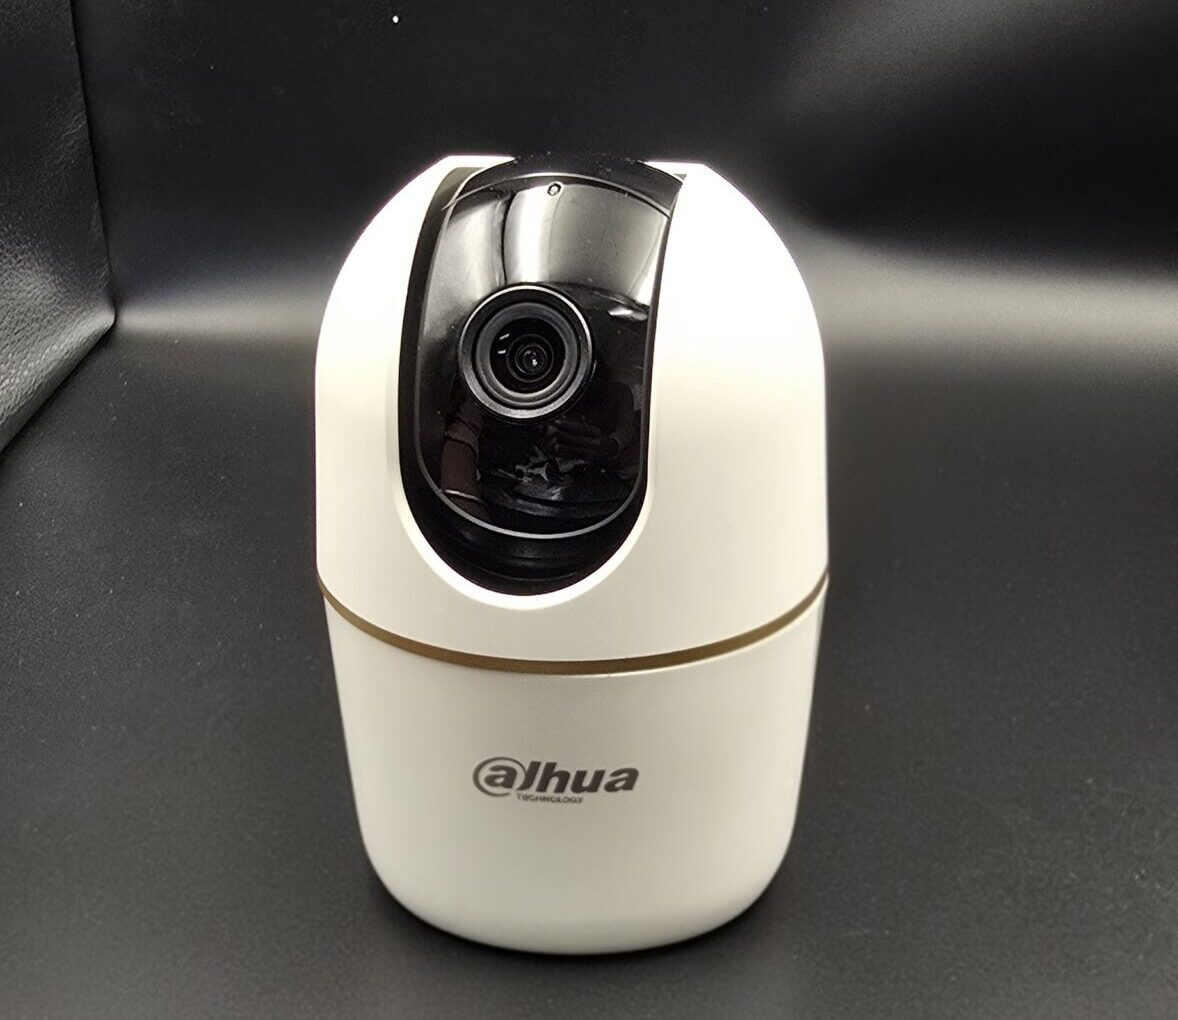
Types of CCTV Cameras for Home
Before setting up your system, choose the right type of camera:
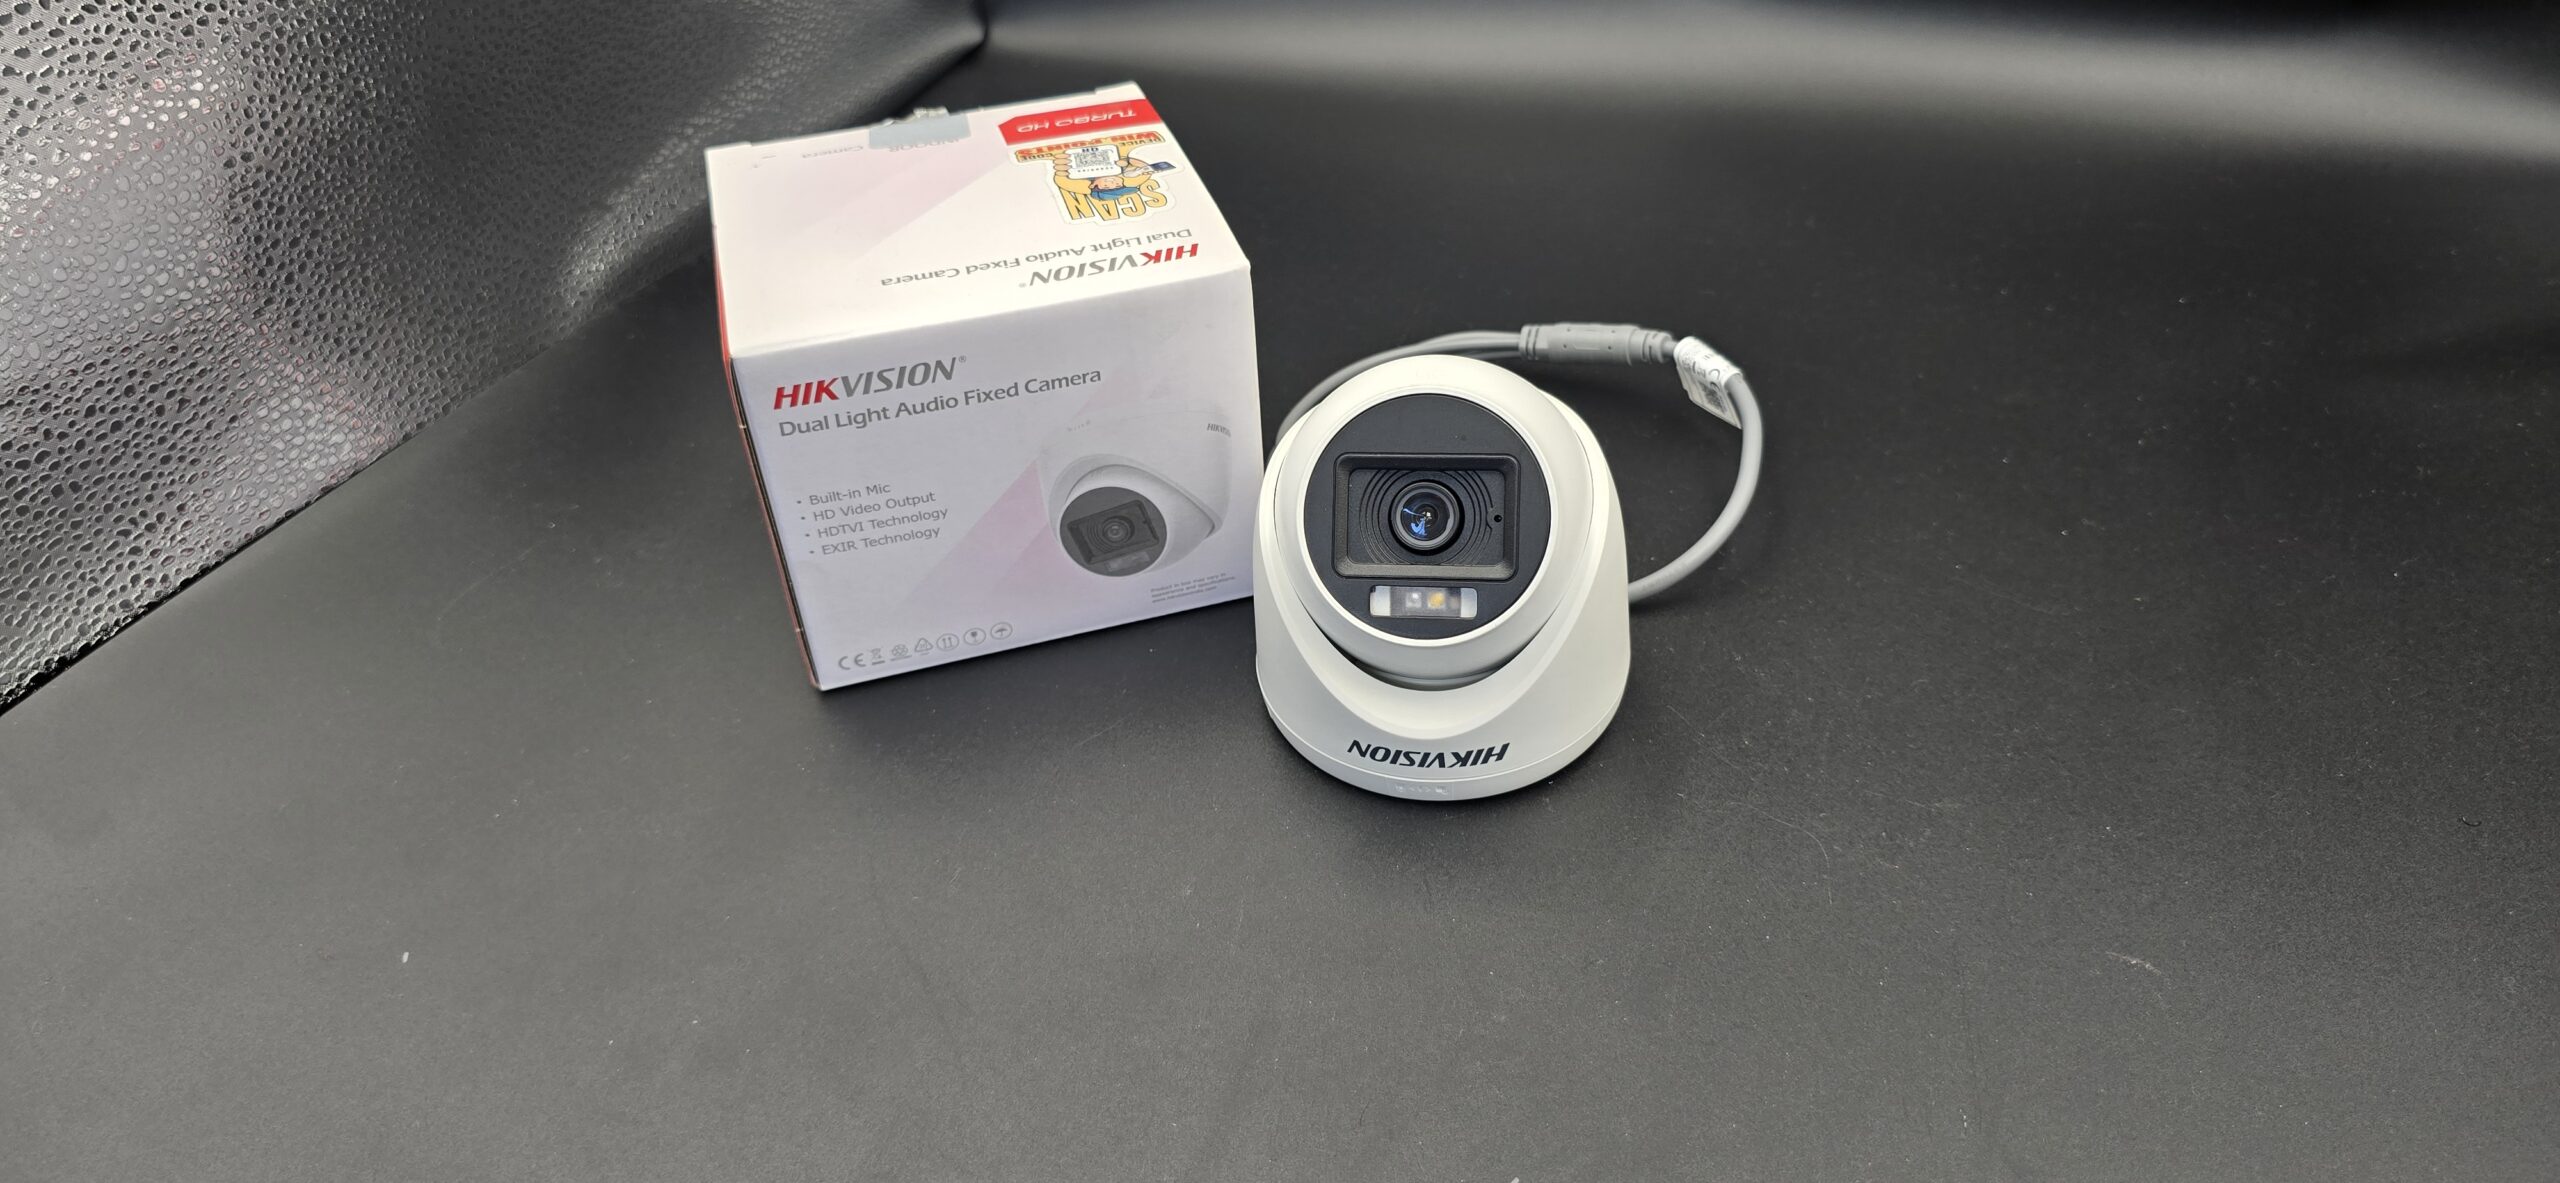
1. Dome Cameras
Ideal for indoor use. They are compact and blend easily with home interiors.
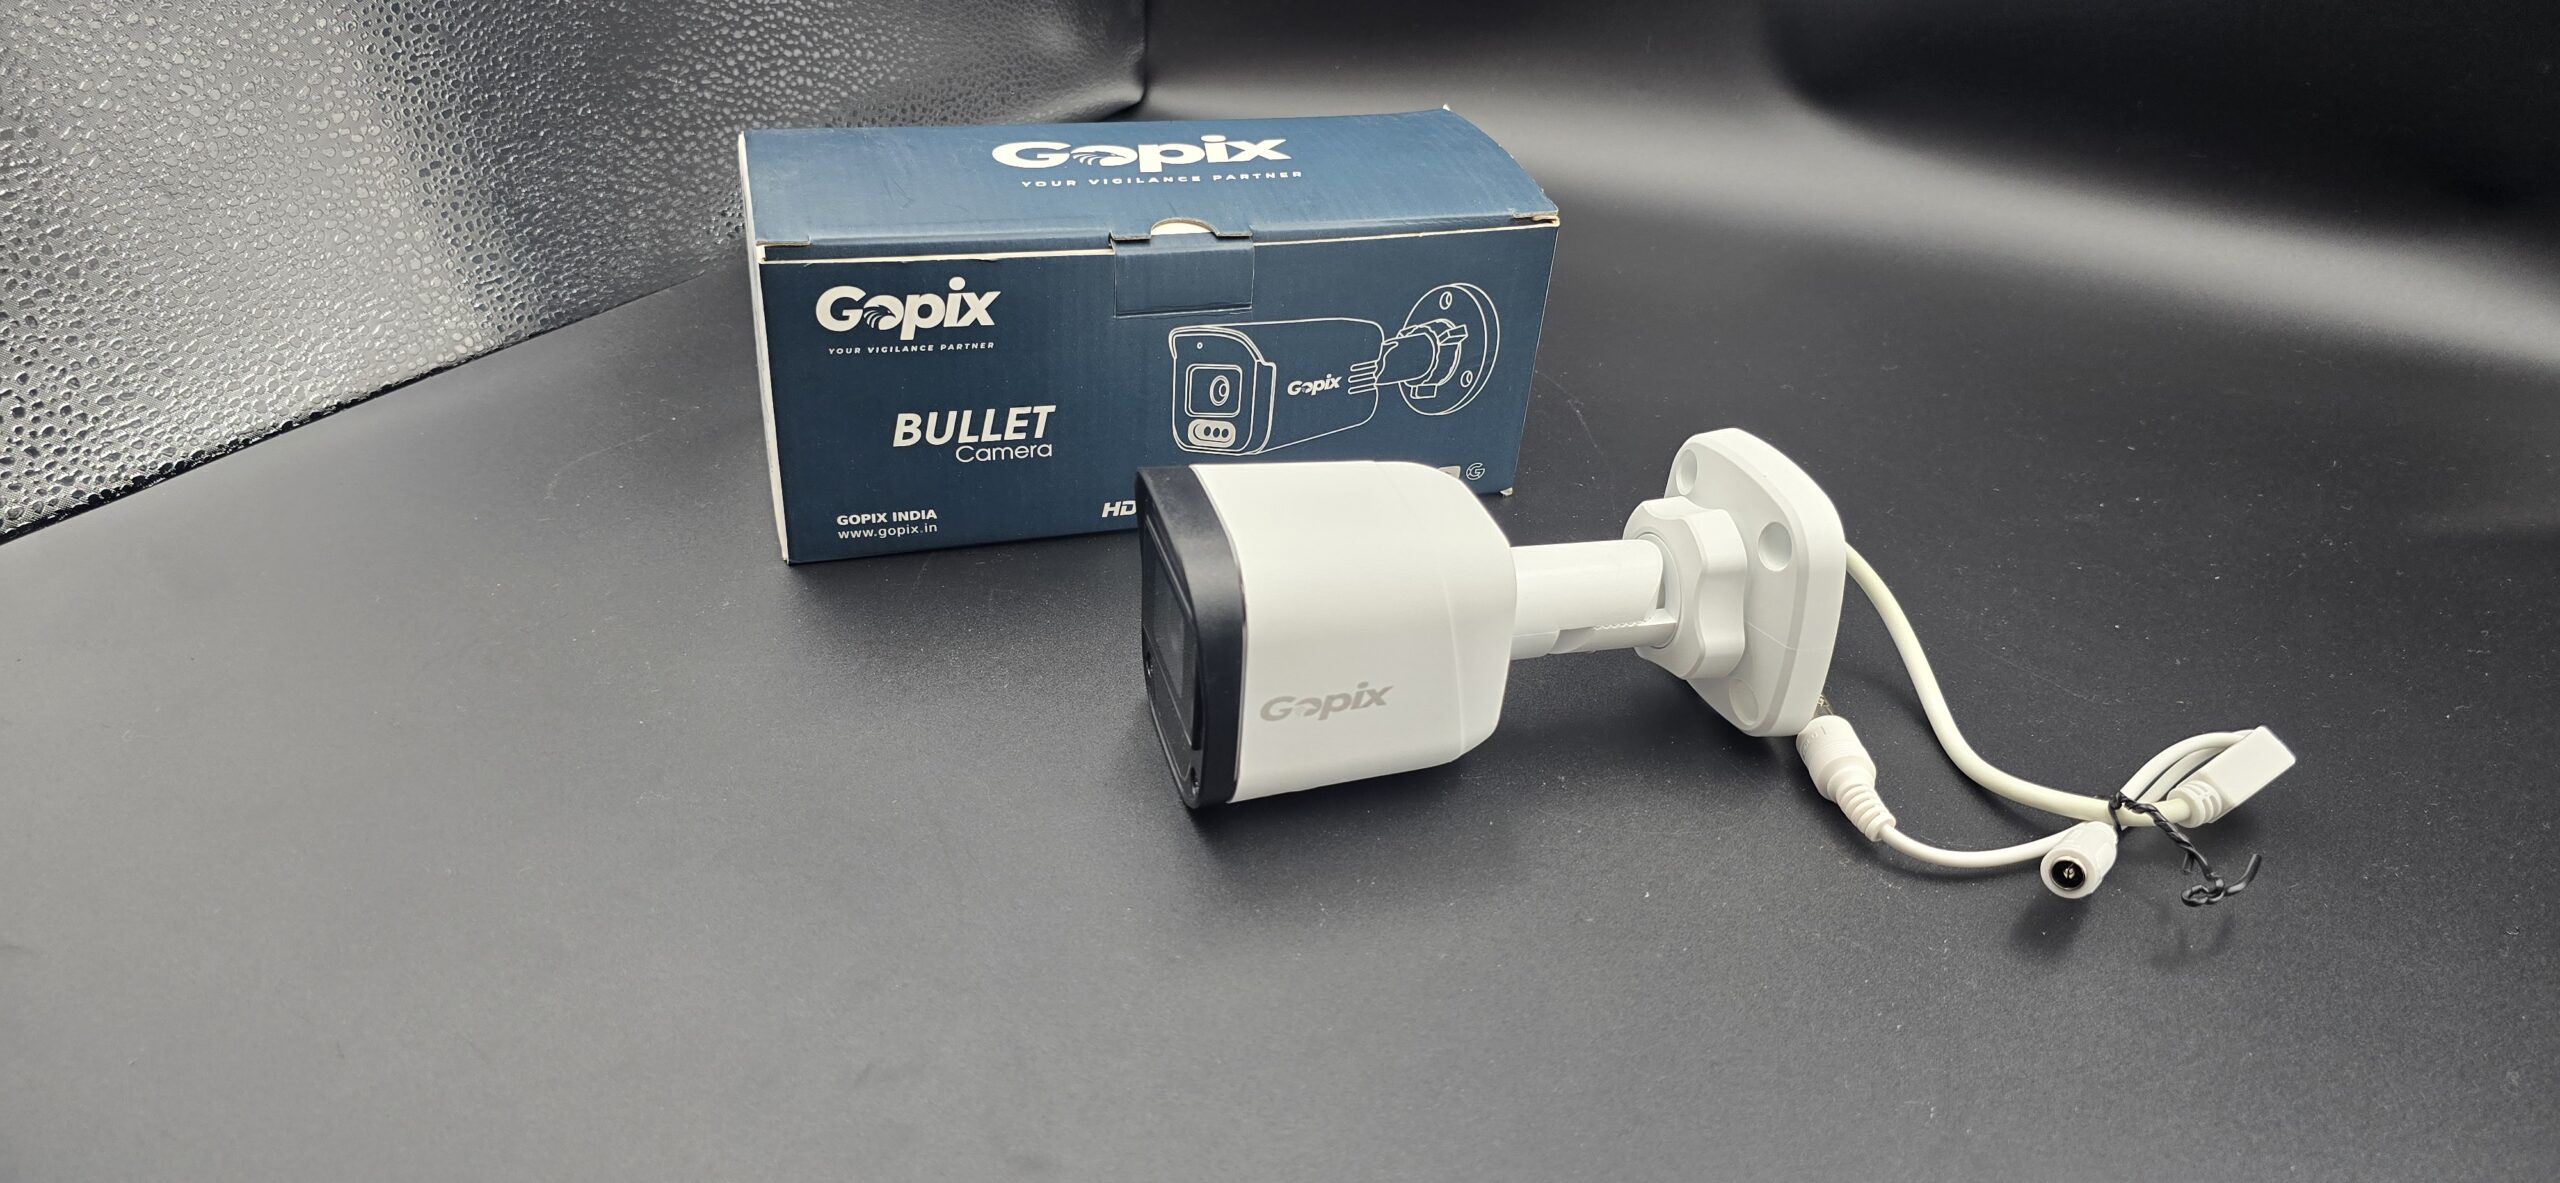
2. Bullet Cameras
Best for outdoor areas like driveways and entrances. Their visible design acts as a deterrent.
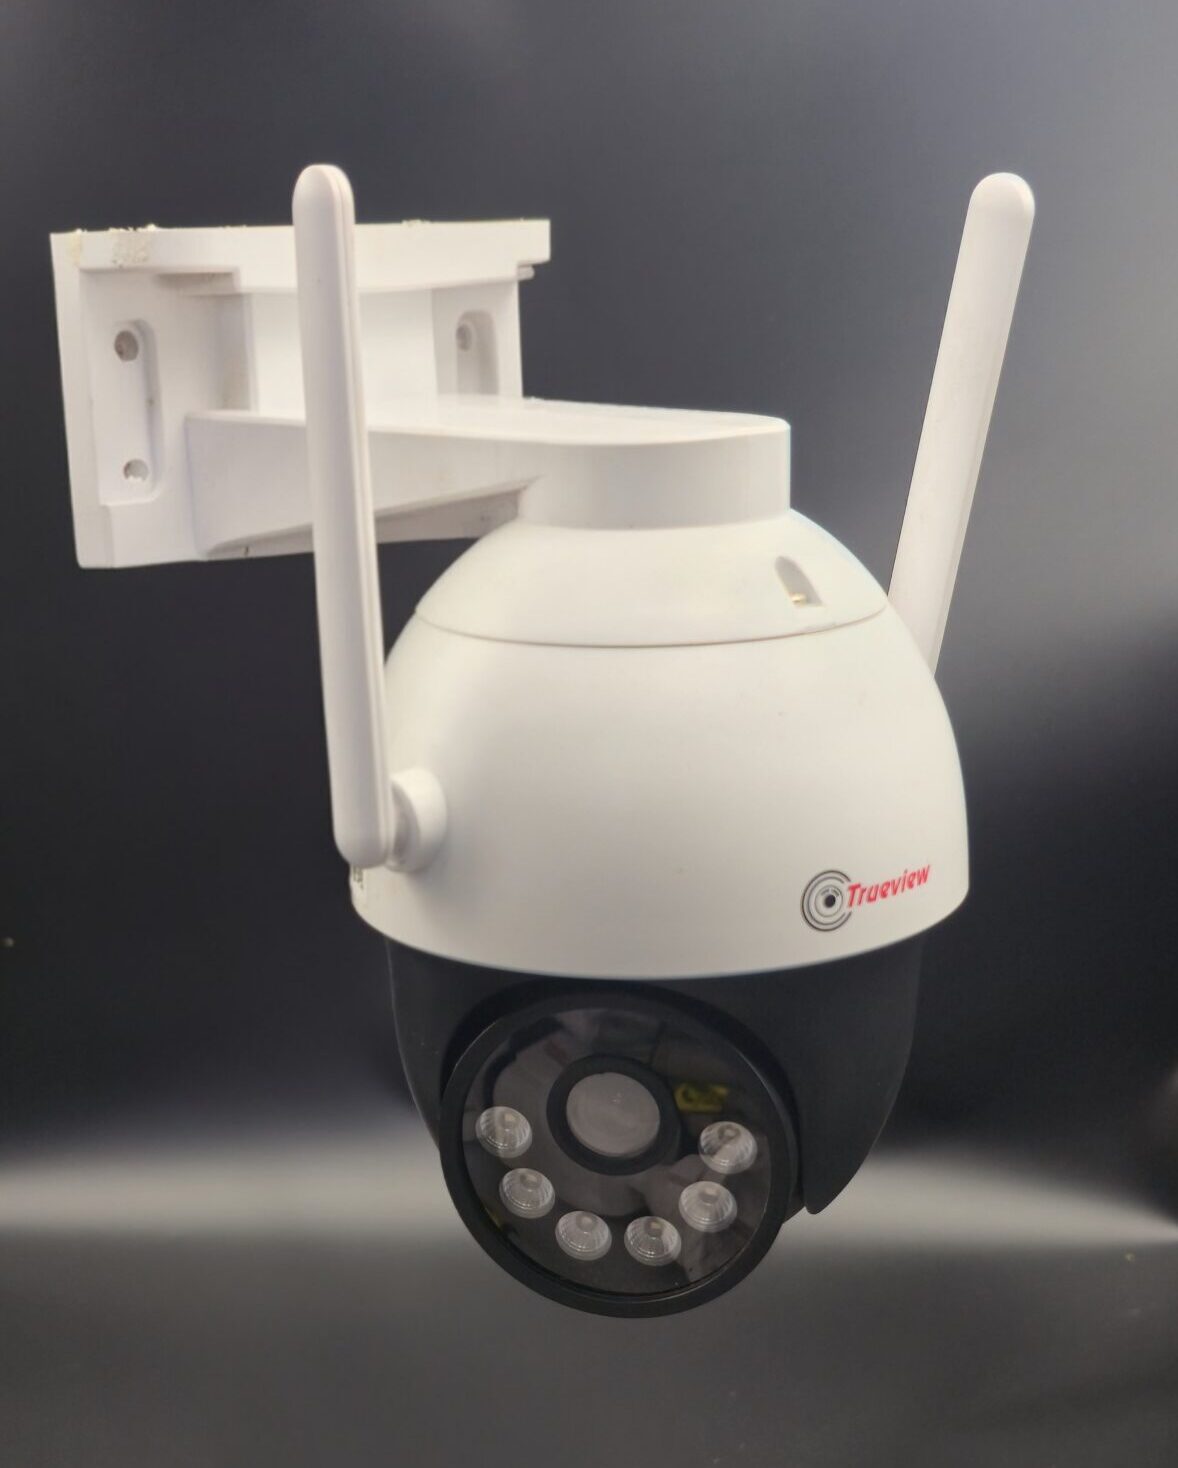
3. PTZ Cameras
These cameras can pan, tilt, and zoom to cover larger areas.
4. IP Cameras
Internet-based cameras that offer high-definition video and remote access.
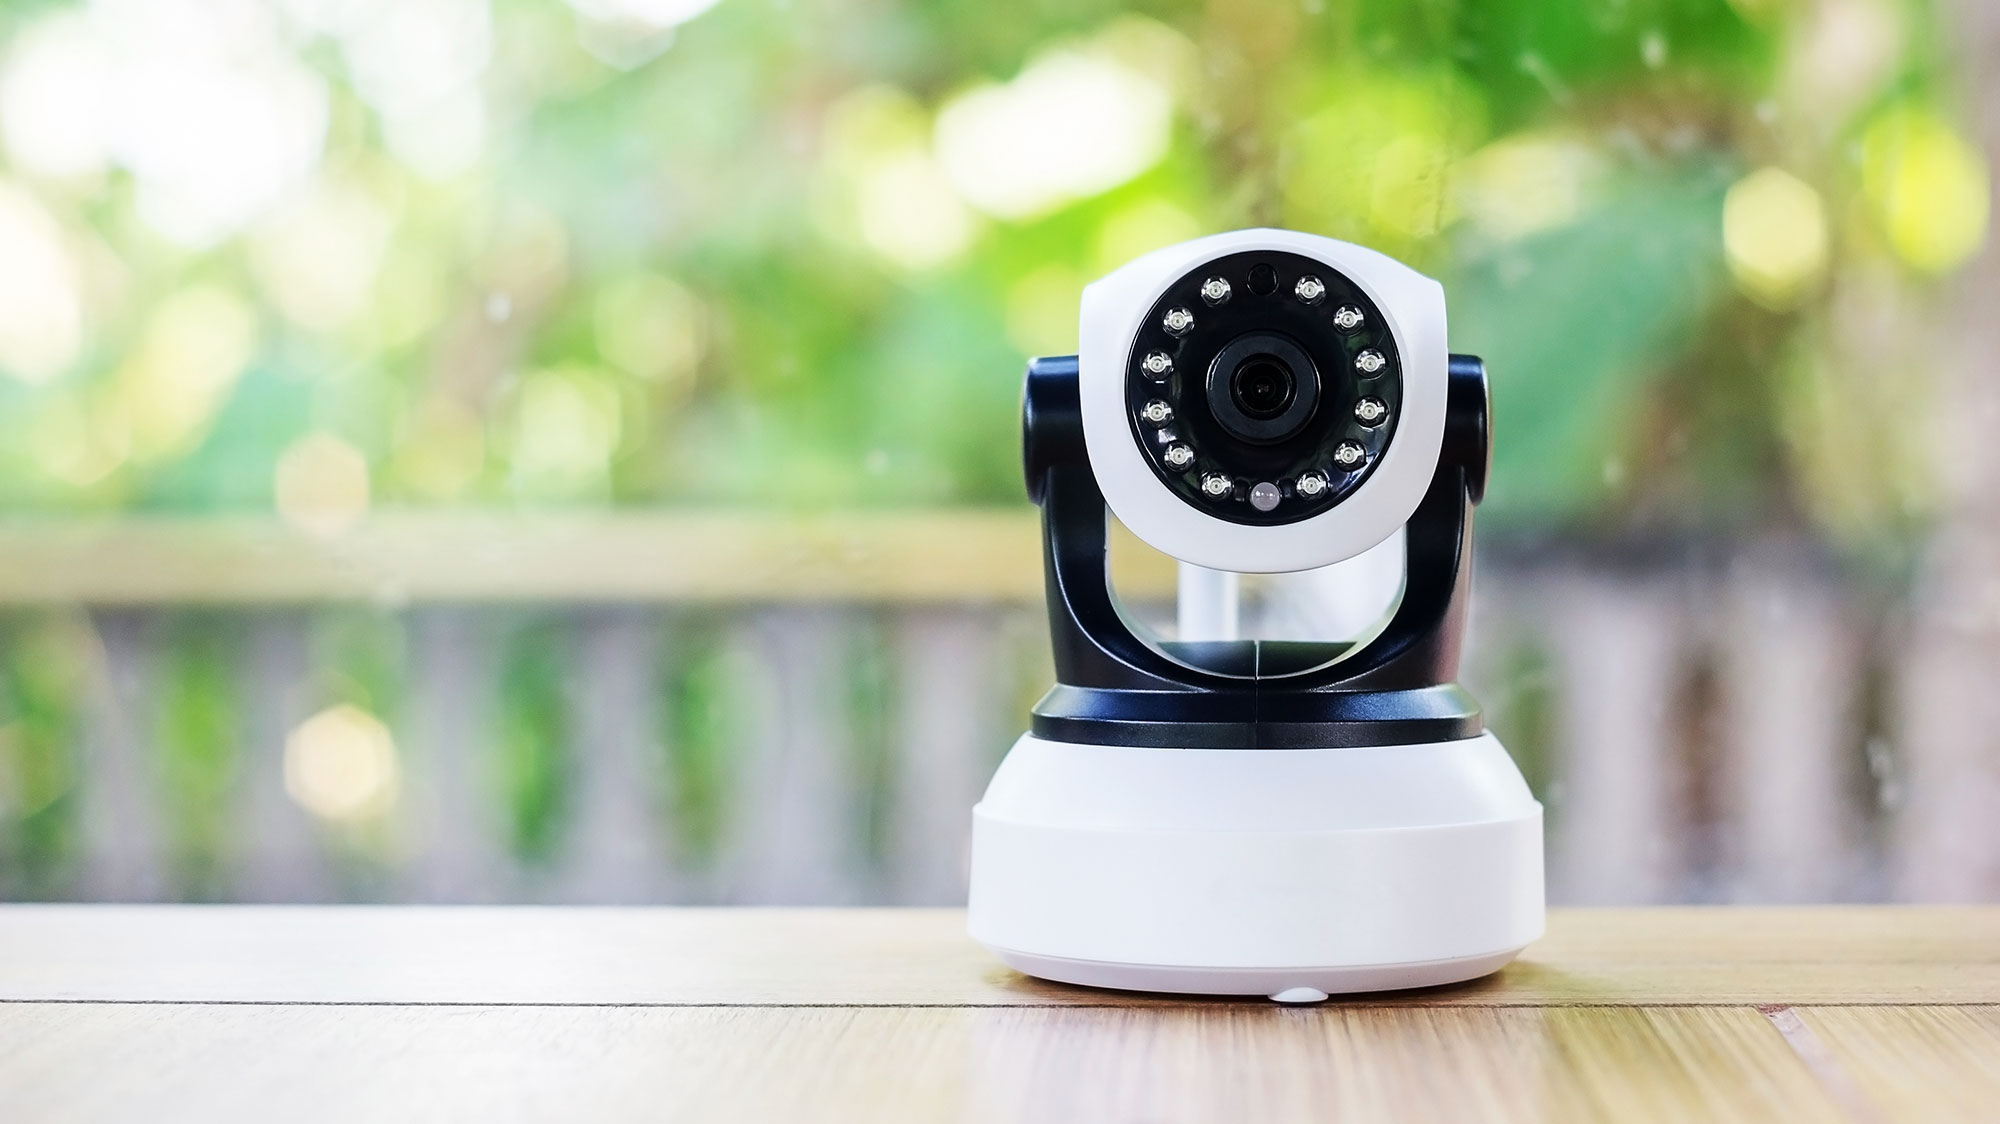
5. Wireless CCTV Cameras
Easy to install and connect via WiFi with minimal wiring.
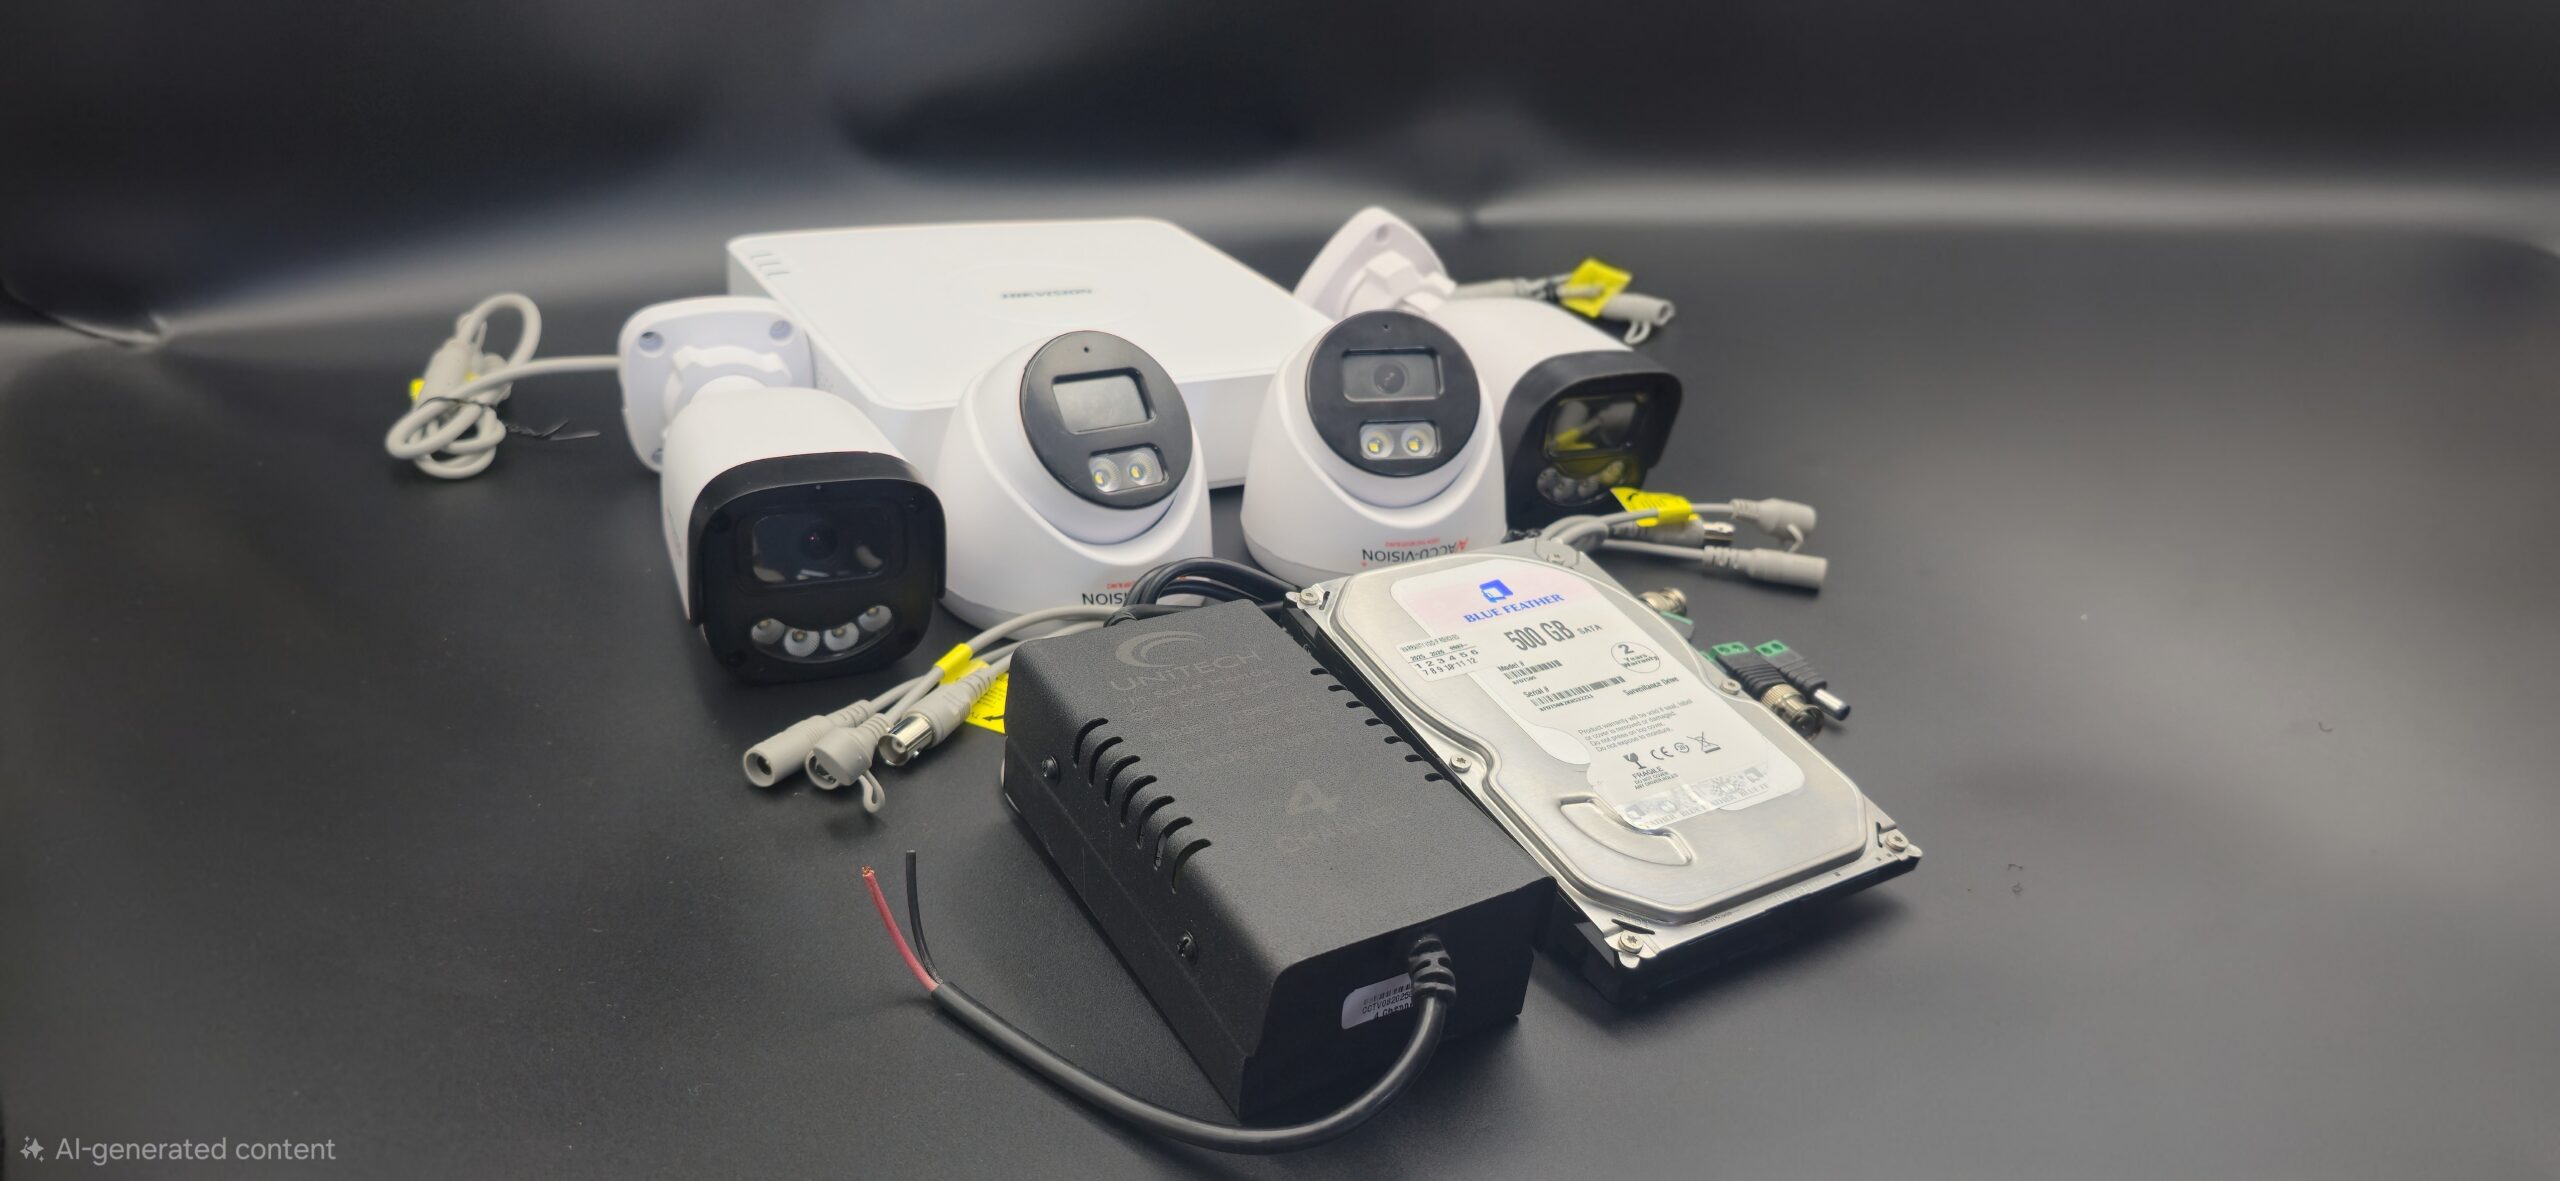
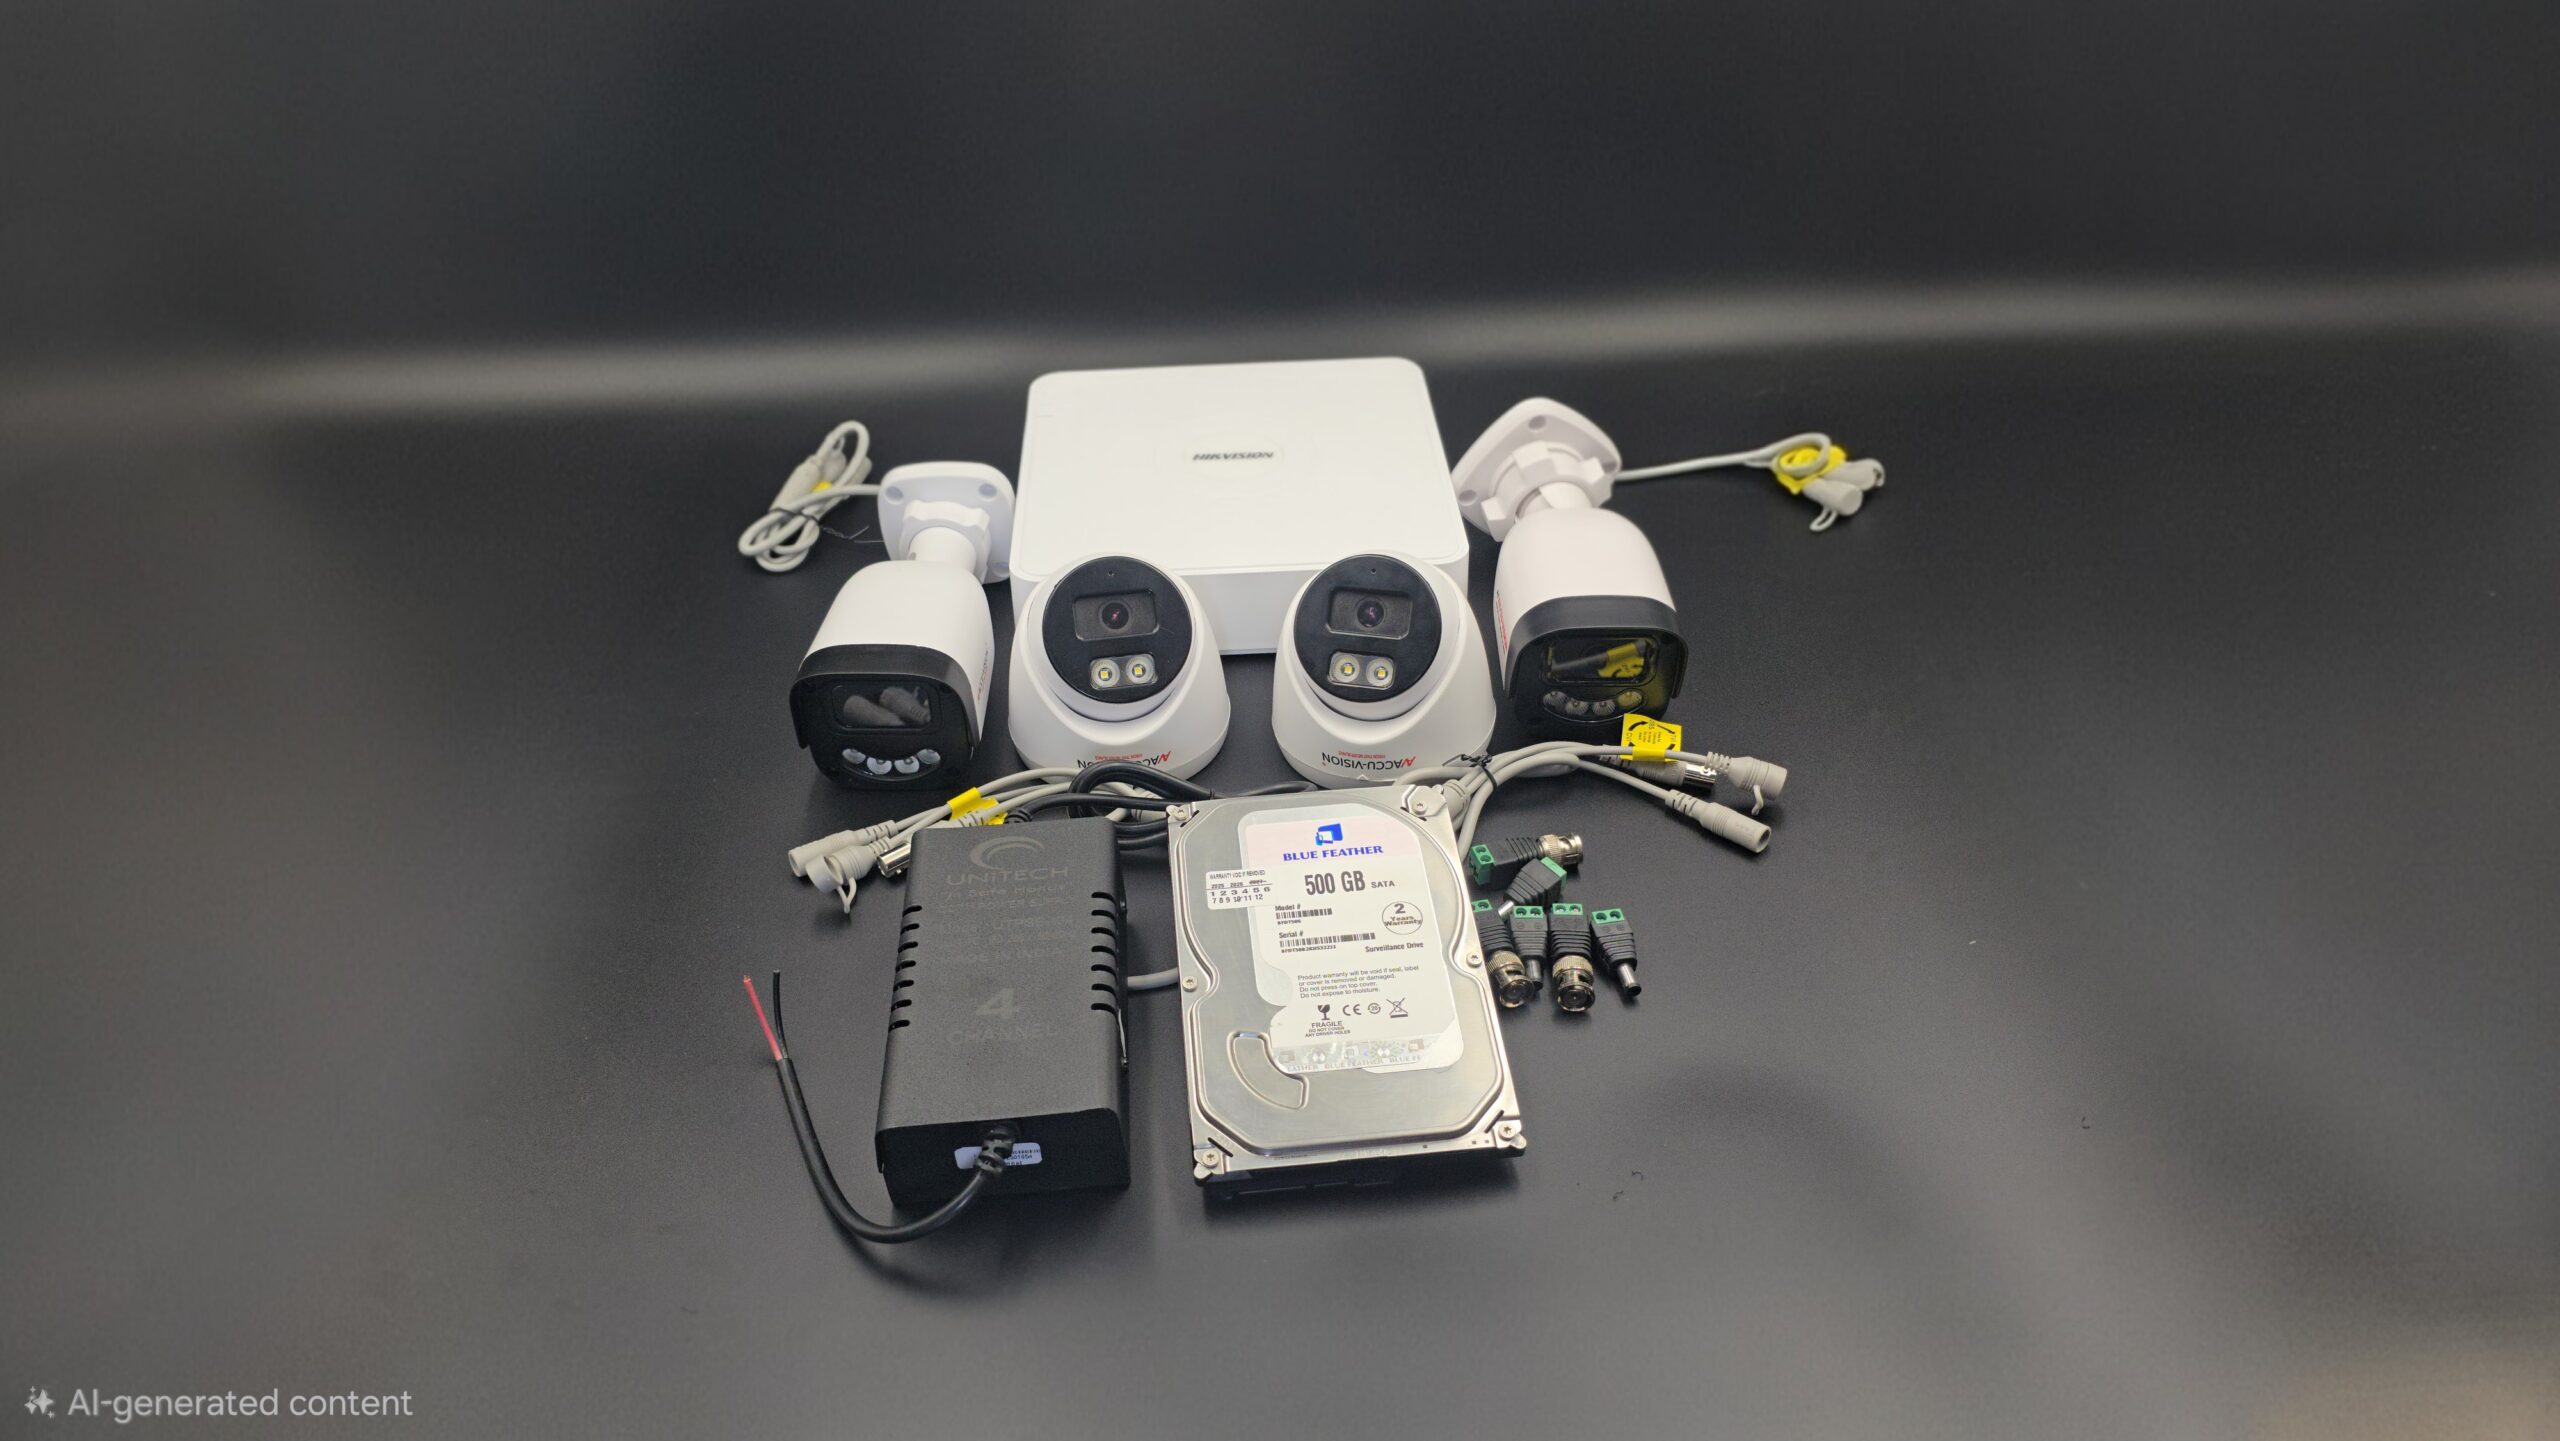
Equipment Needed for Home CCTV Setup
To set up a CCTV system at home, you will need:
- CCTV cameras
- DVR (for analog cameras) or NVR (for IP cameras)
- Hard drive for storage
- Power adapters
- Coaxial or Ethernet cables
- Monitor or TV
- Internet router (for remote viewing)
- Mounting tools (drill, screws, brackets)
Step-by-Step Home CCTV Camera Setup
Step 1: Plan Camera Placement
Identify key areas that require monitoring:
- Main entrance
- Back door
- Garage
- Driveway
- Living room
- Backyard
Avoid placing cameras in private areas such as bathrooms or bedrooms.
Step 2: Install the Cameras
- Mount cameras 8–10 feet above ground.
- Secure them firmly using brackets and screws.
- Adjust angles to cover maximum area without blind spots.
- Ensure outdoor cameras are weatherproof.
Step 3: Connect Cameras to DVR/NVR
- For analog systems, use coaxial cables.
- For IP systems, use Ethernet cables.
- Install a hard drive inside the DVR/NVR for recording.
Step 4: Connect Power Supply
Plug cameras and recording devices into a power source. Use surge protectors to protect against electrical damage.
Step 5: Connect to Monitor
Use HDMI or VGA cable to connect the DVR/NVR to a monitor or TV. Power on the system and check live camera feeds.
Step 6: Configure Settings
- Set date and time.
- Create a strong password.
- Choose recording mode (continuous or motion detection).
- Enable remote viewing through a mobile app.
- Adjust motion sensitivity and alert settings.
Step 7: Test the System
- Check video clarity and night vision.
- Test motion alerts.
- Playback recorded footage.
- Ensure remote access works smoothly.
Wired vs Wireless Home CCTV Setup
| Feature | Wired CCTV | Wireless CCTV |
|---|---|---|
| Installation | More complex | Easier |
| Stability | Very stable | Depends on WiFi |
| Flexibility | Limited movement | Easy to relocate |
| Cost | Higher installation cost | Lower installation cost |
Choose wired systems for long-term reliability and wireless systems for flexibility and easy setup.
Tips for Better Home CCTV Performance
- Choose cameras with at least 1080p resolution.
- Ensure proper lighting for clear footage.
- Keep firmware updated.
- Clean lenses regularly.
- Secure your system with strong passwords.
- Check storage capacity periodically.
Common Mistakes to Avoid
- Poor camera placement
- Ignoring blind spots
- Weak internet connection for IP cameras
- Using low-quality cables
- Not testing the system after installation
Conclusion
A proper home CCTV camera setup provides round-the-clock protection and peace of mind. With the right equipment, correct placement, and proper configuration, you can build a reliable security system for your home.
Investing in CCTV is not just about monitoring—it’s about creating a safer environment for your family. Plan carefully, install correctly, and maintain regularly to ensure your home stays secure at all times.

Recent Comments