
Wifi Security Camera Setup
What is a WiFi Security Camera?
A WiFi security camera is a wireless surveillance device that connects to your internet network. Unlike traditional wired CCTV systems, WiFi cameras transmit video data through your router, allowing you to view live footage remotely through a mobile app or computer.
Benefits of WiFi Security Cameras
Installing a WiFi security camera offers several advantages:
- Easy installation with minimal wiring
- Remote access via smartphone
- Real-time alerts and notifications
- High-definition video quality
- Flexible placement options
- Cloud and local storage options
These features make WiFi cameras ideal for homes, small offices, apartments, and rental properties.
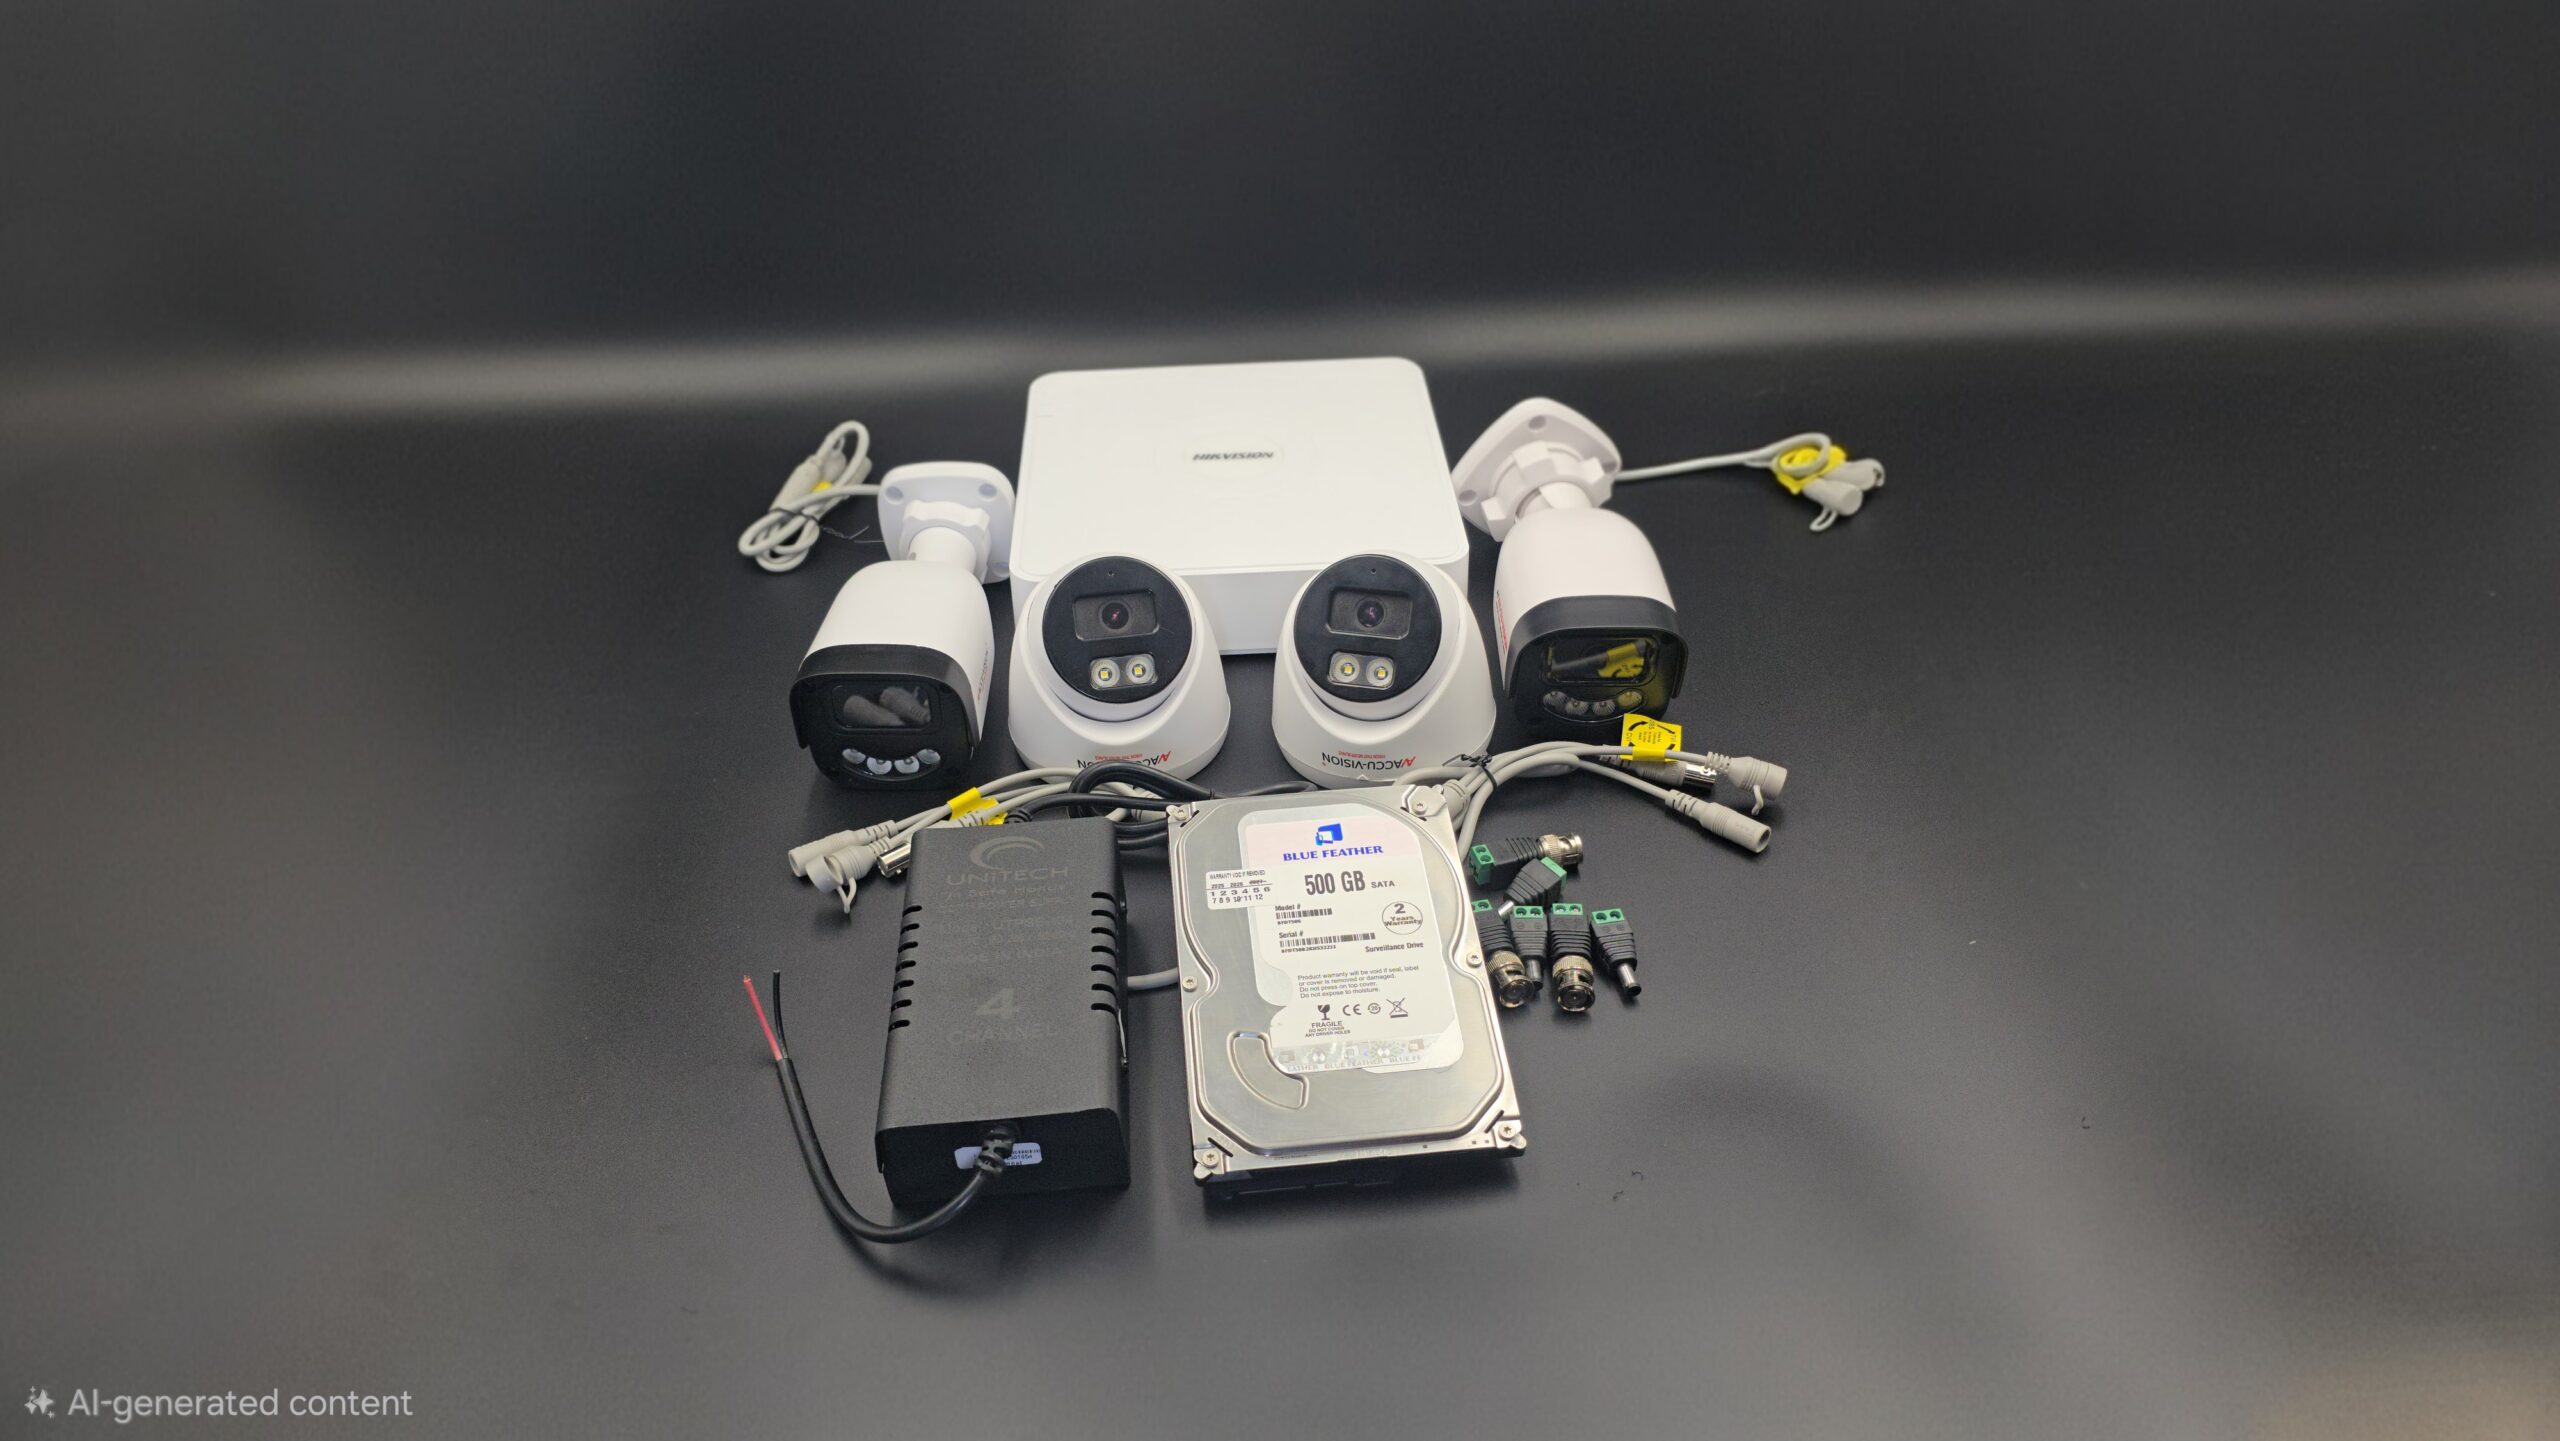
Equipment Needed for WiFi Camera Setup
Before starting installation, make sure you have:
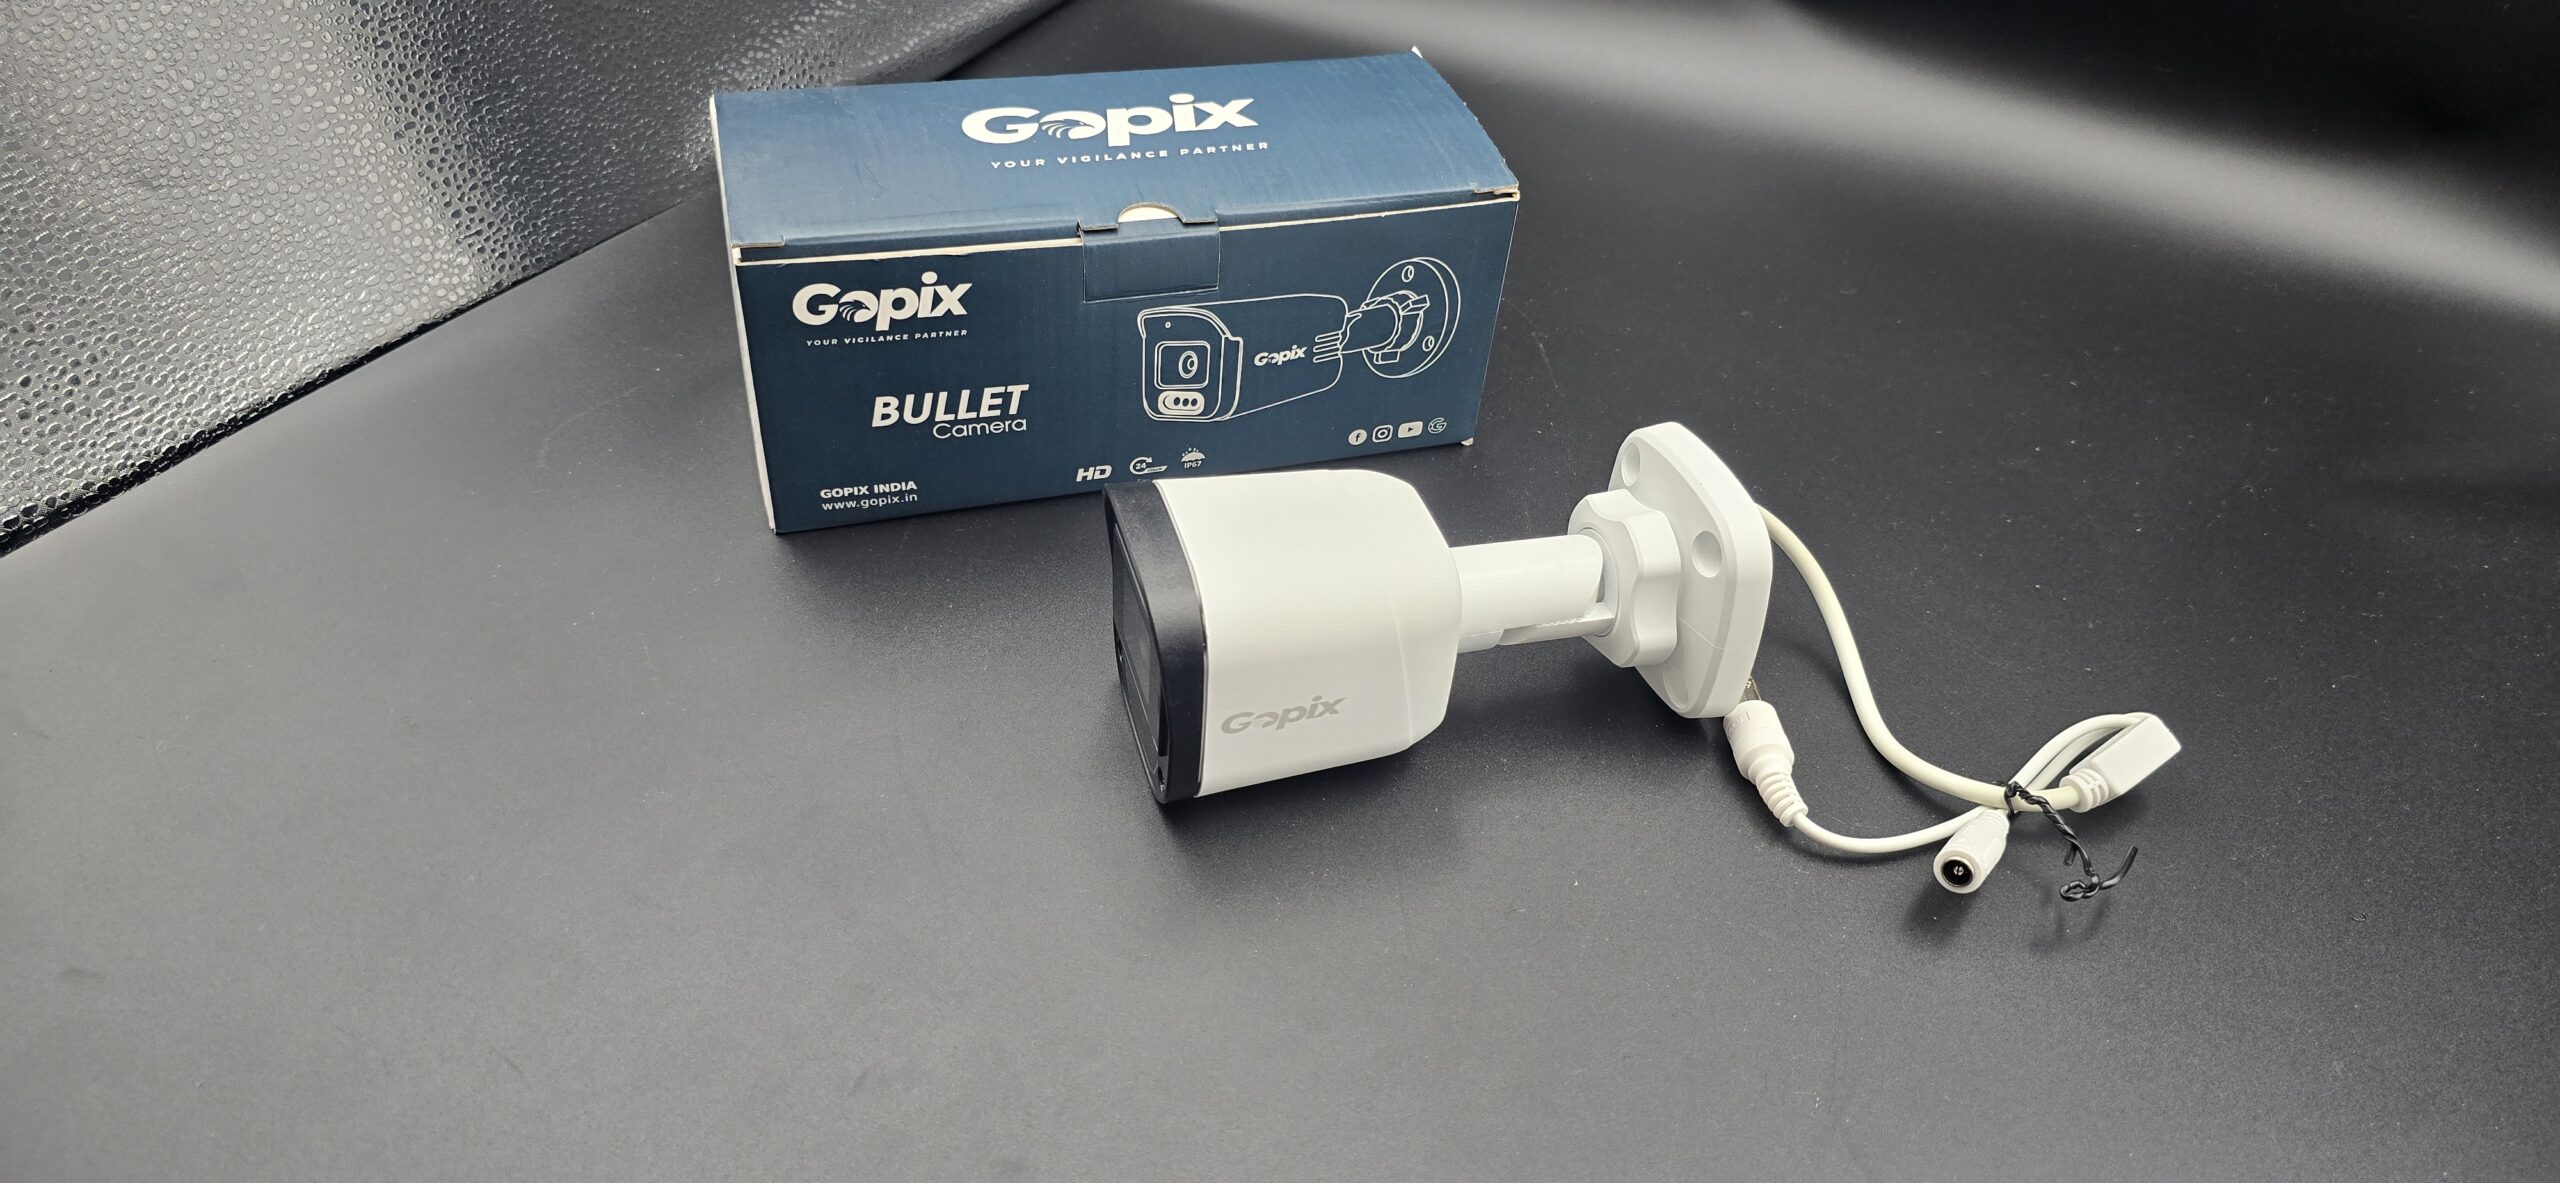
- WiFi security camera
- Stable internet connection
- WiFi router
- Smartphone or computer
- Power adapter (or fully charged battery if battery-operated)
- Mobile app provided by the camera manufacturer
Step-by-Step WiFi Security Camera Setup
Step 1: Choose the Right Location
Select a location that provides a clear view of the area you want to monitor, such as:
- Main entrance
- Backyard
- Living room
- Garage
- Office entrance
Make sure the camera is within range of your WiFi signal for stable connectivity.
Step 2: Power On the Camera
Plug the camera into a power outlet or insert fully charged batteries. Wait for the indicator light to show that the device is ready for setup.
Step 3: Download the Mobile App
Most WiFi cameras come with a dedicated app. Download it from the Google Play Store or Apple App Store. Create an account or log in.
Step 4: Connect Camera to WiFi
- Open the app and select “Add Device” or “Setup Camera.”
- Scan the QR code on the camera (if required).
- Select your WiFi network.
- Enter your WiFi password.
- Wait for the camera to connect successfully.
Ensure you are connecting to a 2.4GHz WiFi network if the camera does not support 5GHz.
Step 5: Mount the Camera
After successful setup:
- Use mounting brackets to install the camera.
- Install it at a height of 8–10 feet for better coverage.
- Adjust the angle to avoid blind spots.
For outdoor cameras, ensure they are weatherproof.
Step 6: Configure Settings
Customize your camera settings:
- Set motion detection sensitivity
- Enable push notifications
- Adjust video resolution
- Set recording mode (continuous or motion-based)
- Configure night vision
Also, create a strong password for security.
Step 7: Test the Camera
- Check live video streaming.
- Test motion alerts.
- Verify night vision quality.
- Playback recorded footage.
Make sure everything works properly before finalizing installation.
Storage Options for WiFi Security Cameras
WiFi cameras typically offer two storage options:
1. Cloud Storage
- Secure online storage
- Accessible from anywhere
- Subscription-based
2. SD Card Storage
- Local storage inside the camera
- No monthly fees
- Limited by card capacity
Choose the option that best fits your needs.
Common WiFi Camera Setup Issues
Here are some common problems and solutions:
- Weak WiFi signal: Move the router closer or use a WiFi extender.
- Connection failure: Double-check WiFi password and network type.
- No video feed: Restart the camera and app.
- Frequent disconnection: Ensure stable internet speed.
Tips for Better WiFi Security Camera Performance
- Use high-speed internet.
- Keep firmware updated.
- Avoid placing cameras near thick walls or metal objects.
- Secure your WiFi with a strong password.
- Regularly clean the camera lens.
Conclusion
Setting up a WiFi security camera is simple and convenient. With proper placement, stable internet, and correct configuration, you can monitor your property anytime and from anywhere. Whether for home or office use, WiFi security cameras provide modern, flexible, and reliable security solutions.
Invest in a quality WiFi camera today and enjoy enhanced safety, control, and peace of mind.


Recent Comments